The 100 Kill Requirement In Modern Warfare 4 DMZ Is A Trap
The 100 Kill Requirement Is A Silent Trap
Most players figure weapon leveling is just math. Kill enemies, earn XP, level up. The Gold camo in Modern Warfare 4 DMZ throws that logic right out the window. On paper the requirement looks almost too easy: one hundred enemy kills in a single match. Sounds straightforward — until you actually try it.
Here's the catch. That single-match constraint changes everything. You can't split the kills across multiple deployments. Die once, and the counter resets. Fail to extract before the radiation timer runs out, and the progress is gone. I've watched countless players lose hours to this exact mechanic. Forty minutes of grinding, one helicopter, and back to zero.
Why High Threat Zones Are The Only Viable Option
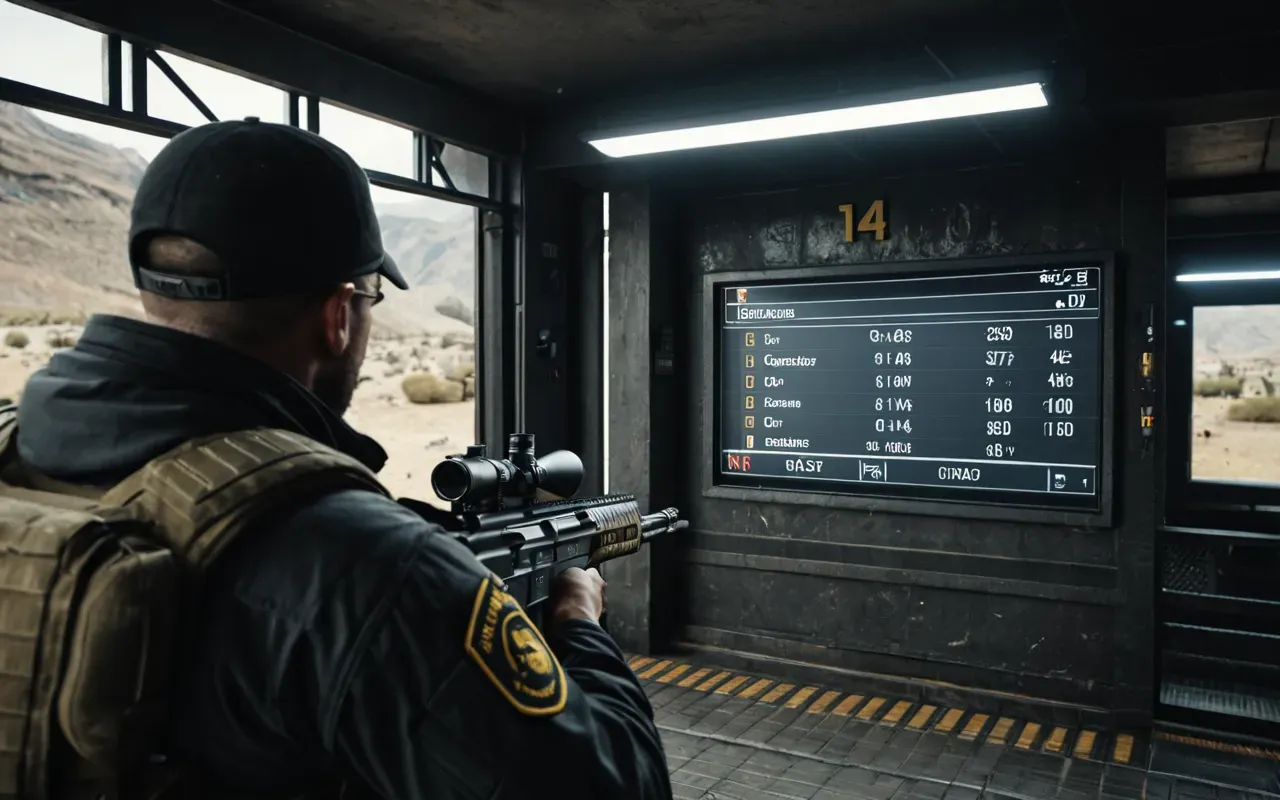
To hit one hundred kills in one go, you need density. Low threat areas just don't spawn enough enemies. NuriGo Mall is rated medium, but the groups are small and spread thin. You end up spending more time traveling between fights than actually fighting. Bad trade when the radiation clock is breathing down your neck.
The Grid is a different story. Rated critical threat. The streets are packed with heavy soldiers and riot shield units. You don't need to keep moving. Find a vehicle, drop into cover, and let them come to you. The kill stream turns almost automatic. Hanex Bank goes even harder with an extreme threat rating. Dangerous, sure — but the enemy density is unmatched.
DBN Headquarters gives you a vertical option. The tower spreads enemies across multiple floors. Use the rope shafts to move between levels while you clear rooms. Slower, yes. But safer. Ideal if you're running a freshly equipped weapon and need to build some confidence before pushing into the extreme zones.
Weapon Specific Challenges You Must Know
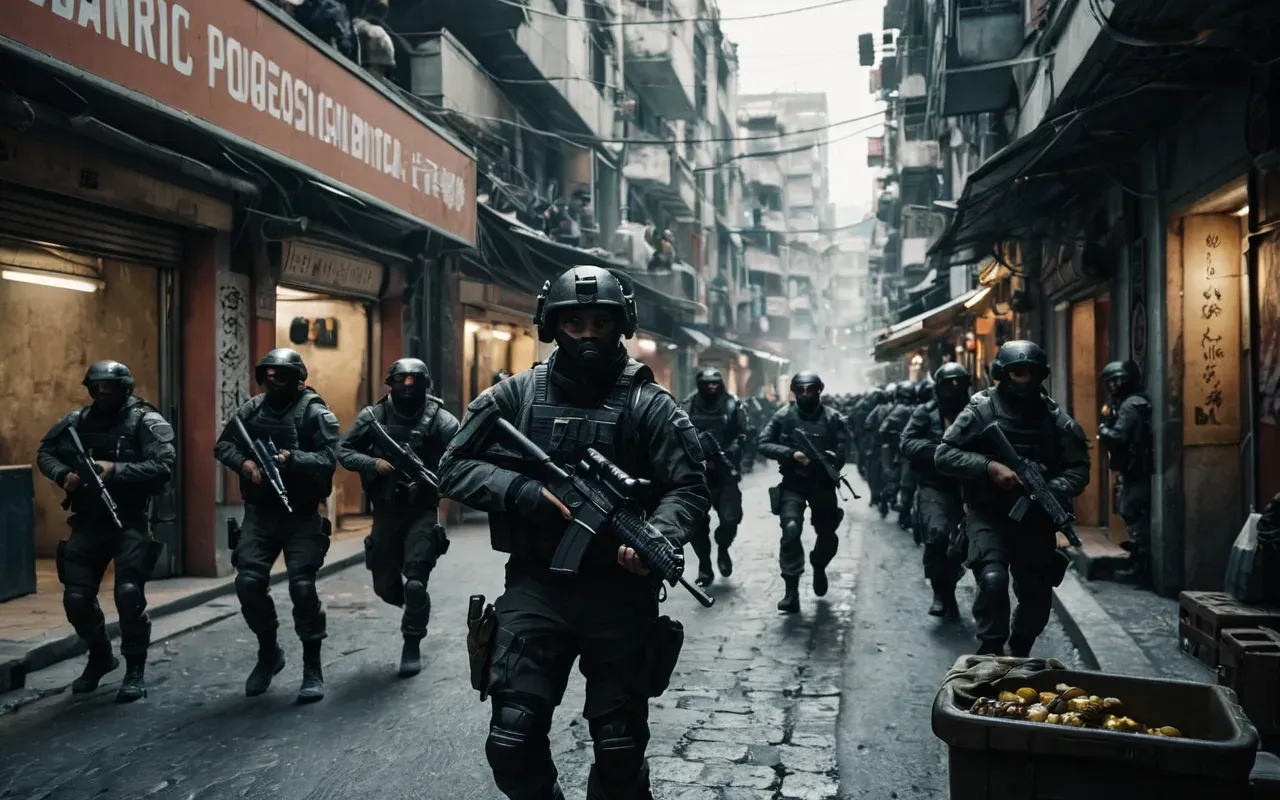
Every weapon has its own special camos. The Han 86 has three distinct challenges before you even touch Gold. Smoke wants seventy-five kills while mounted. Stormwave needs one hundred and twenty-five kills with a silencer. Red is the worst — three kills without taking damage, fifty times. That's a long grind.
The Type 73 LMG follows a similar structure, different tasks. Ash Pine requires seventy-five mounted kills. Foxtrail needs one hundred headshots. Gold stays the same: one hundred kills in a single match. That consistency helps, but the special challenges vary a lot between weapon classes.
Always check the Gunsmith before you deploy. The camo screen shows exactly what you need. Don't assume one weapon's requirements carry over to another. The Han 86 and Type 73 both have Gold, but their special camos are completely different. Reading that screen takes ten seconds. It can save you hours of wasted effort.
The DMZ Mode Mastery Sequence Is A Long Game
Beyond the weapon-specific camos, there are three mode mastery camos. Chiral, Ripple Tide, and Helio. They have to be done in strict sequence — no skipping ahead. Chiral requires three thousand three hundred and thirty-three Harmonic Break camos, then two thousand five hundred Tier 3 kills. That's a massive time investment.
Ripple Tide is where it gets tricky. You need to extract two Lieutenant dog tags in a single deployment, fifty times. Ordinary kills don't count. You have to eliminate two Lieutenants, collect both tags, and extract successfully. The LT HUNTER trait helps by revealing an extra Lieutenant when you activate a tower.
Helio is the final boss. Twenty-five thousand kills with a Legendary weapon while playing on a Max Level Operator. The Onyx III Dog Tag Rank is the threshold. This isn't something you knock out in a weekend. It's a season-long goal. But if you're serious about completing every camo, it's the ultimate test.
Weapon XP Tokens Are Your Best Friend
Don't waste time without a token. Weapon XP tokens can be activated mid-match. No need to return to the FOB. Open the pause menu, select the token slot, pick a duration. Fifteen minutes, thirty, forty-five, or one hour. The timer only runs while you're deployed.
Activate the token right before you enter a high-density area like The Grid. Keep fighting until the timer expires. That maximizes every minute. Activate it early and spend the time looting containers? You're wasting the bonus. Focus on kills, not contracts.
The post-match summary shows exactly how much XP each weapon gained. Check it. If your primary gun isn't advancing, your playstyle is off. Maybe you're moving too much. Maybe you're not staying in the fight long enough. The data tells you the truth, even when it's hard to hear.
Ammonition And Survival Are Non Negotiable
High threat zones burn through ammunition fast. Plan your route around ammo caches. Use the Tac Map to identify resupply points before you deploy. Run dry and you're dead. A suppressed rifle with an optic is ideal — works at range and in close quarters. Make sure the silencer is equipped if you're grinding Stormwave.
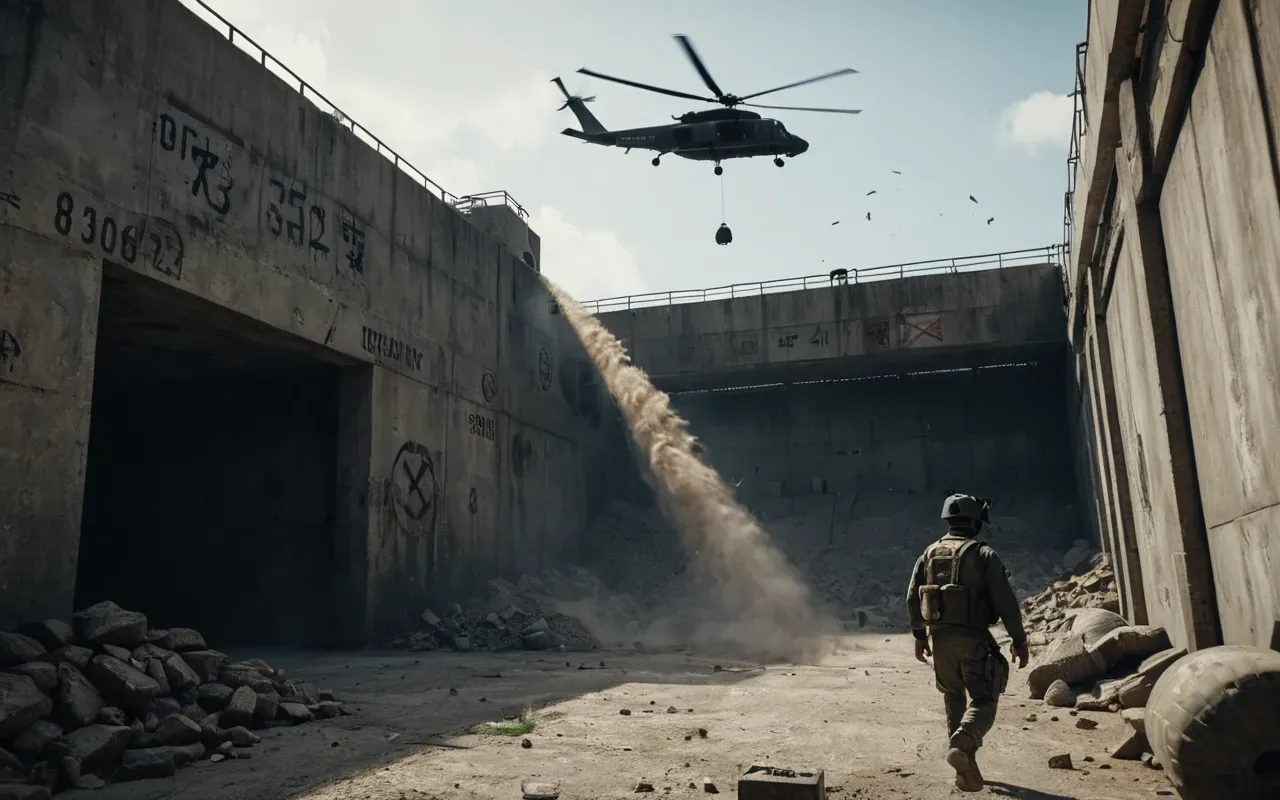
Commander threats are the biggest risk. Attack helicopters and tanks can wipe out your entire session. If one shows up, get indoors immediately. Break its line of sight. Don't try to fight a helicopter with a rifle in the open. That's a losing battle. Survival is the priority, not glory.
Extract before the radiation timer hits zero. I can't stress this enough. If the countdown expires, every kill and weapon level from that deployment is gone. Brutal penalty. Call for extraction early. Better to miss ten kills than lose a hundred. Simple math, but the pressure is real.
Story Missions Offer A Structured Alternative
If free roam feels chaotic, try Story Missions. They concentrate enemies around objectives. No searching for fights. Operation Iron Citadel at Chang-san Air Base is a good example. Work through the objectives and eliminate the guards. It's a controlled environment for farming XP.
Dynamic Operations are another option. They drop you straight into an activity. Rewards include a Supply Drop and cash. Useful if you want a break from pure combat. It combines weapon XP with economic gains. A smart way to diversify your gameplay without losing progress.
These activities aren't as fast as The Grid for pure kill counts. But they're more predictable. You know where the enemies are. You know what to expect. That cuts the cognitive load. You can focus on accuracy and positioning instead of constantly scanning for threats.
The Real Cost Of The Camo Grind
Let's talk about time. The full camo set for one weapon is a serious investment. The Han 86 has seventy-one progression steps. The Type 73 has its own track. Add the mode mastery camos and you're looking at dozens of hours. Do it for every weapon? Hundreds of hours.
Is it worth it? Depends on your goals. Play for completion, yes. Play for fun, maybe not. I've seen players burn out from the grind. They lose the joy of the game and start feeling like they're working a job. That's a bad sign. Step back if it starts to feel like a chore.
The game is built to keep you playing. And the camo system? It's a hell of a hook — clear goals, tangible rewards, the whole loop. But it cuts both ways. That single-match requirement for Gold is a deliberate friction point, no accident. It forces you to play a specific way, in specific places, under specific conditions. Careful, though. It's a trap if you don't see it coming.
Final Thoughts On The Modern Warfare 4 Grind
Weapon leveling in DMZ is skill-based, honestly. It rewards preparation, focus, and adaptability — not luck. The 100 kill requirement isn't a bug; it's a design choice. It tests whether you can sustain pressure. Handle it, and the Gold camo is yours. Can't? It'll humble you fast.
So use the tools you've got. Check the Gunsmith. Burn XP tokens. Pick the right locations. Extract before the timer runs out. None of this is secret — it just gets overlooked. The players who succeed are the ones who respect the system. They don't fight the mechanics. They work with them.
The camo grind is a marathon, not a sprint. One weapon at a time. Celebrate the small wins. And remember — the game is meant to be fun. If it stops being fun, that's your sign to take a break. The camos will still be there tomorrow. Your sanity might not.