The Silent Killer Behind Your Failed Grind Attempts
Here's a fact that will sting. Most players who attempt the Crimson Crawler ritual in Call of Duty Warzone do not fail because they are bad at shooting zombies.
They lose the camo for a much simpler reason. They let their squad get wiped out before the Eldritch Gateway finishes charging.
I watched this happen dozens of times in my own lobbies. A player finds the sword quickly. They reach the Floating Ruins without a scratch.
Then they stand on that podium for ninety seconds while zombies swarm. An enemy squad pops in from the north ridge and drops their entire team.
The ritual resets. The sword vanishes from the map for that match. You have to queue again and start over.
This is not a skill check on your aim. It is a survival test disguised as an Easter egg.
And most players never learn the difference until they have wasted three or four full matches on a single camo.

Why The Sword Location Is A Red Herring For Your Grind
Let me be blunt. The hardest part of this challenge is not finding the glowing sword.
You have three possible spots to check. The Mansion light beam top, the Lumbermill Furnace interior, or the Riverboat Slot Machine deck.
Only one of them holds the item in any given match. The other two are empty decoys.
Players panic when they check the first spot and find nothing. They waste ten minutes searching all three before realizing one is enough.
But that ten minutes matters less than the ninety seconds on the podium. The sword is a key, not the lock.
The real bottleneck comes after you place that key. That is where the pressure spikes and most squads collapse.
The Mansion Light Beam Trick Most Players Miss
If the sword spawns at the Mansion, it sits at the very top of a vertical light beam inside the building.
You cannot jump to it from the ground. You need the low-gravity vortex that appears in that area during Haunted Hollow matches.
Position yourself below the beam before you enter the vortex. Let it carry you upward while keeping your eyes on the sword.
I have seen players miss this entirely because they try to jump manually. They land on a ledge two meters short and restart the search.
Why The Lumbermill Furnace Is Actually Safer Than It Looks
The Lumbermill feels dangerous because it is on fire. Flames everywhere. Smoke obscuring your vision.
But the Furnace interior is actually a closed space with limited entry points. You only have to watch one door.
Compare that to the Riverboat. The Slot Machine deck is open on three sides and sits at water level where enemies can flank from multiple angles.
If you are solo or playing with a duo, the Lumbermill Furnace gives you the best survival odds for grabbing that sword.
The Riverboat Slot Machine Is A Death Trap For Inexperienced Players
The Slot Machine sits on a narrow deck with no cover. You are exposed the moment you step off the boat ramp.
Enemy squads who know this spot often camp near the waterline. They see your silhouette against the sky and drop you before you reach the machine.
I recommend avoiding this location unless you have a full squad with at least one player dedicated to covering your approach.
The Sword is not the hard part. The context around it makes or breaks your run.

The Floating Ruins Jump Pad Is The Real Gatekeeper
This is where the challenge shifts from exploration to execution. The Floating Ruins sit high above the map surface.
There is no stairs. No ladder. The only way up is a single Jump Pad positioned directly below the ruins platform.
You have to time your launch perfectly. Miss it and you land in the water below or on a lower ledge that requires another attempt.
And you are doing this while carrying the sword. One bad landing drops your item and forces a full restart.
Here is the thing. The Jump Pad itself has no cooldown in Haunted Hollow matches.
You can try again immediately. But each failed attempt burns time and exposes you to enemy vision from surrounding rooftops.
How To Time Your Jump For A Clean Landing Every Single Time
Stand at the exact center of the Jump Pad circle before you press forward.
Do not drift left or right. Even a small offset changes your arc and sends you short of the platform edge.
Watch for the small dust cloud that erupts when the pad activates. That is your cue to release any movement input you were holding.
Your character should rise in a straight vertical line. If you drift sideways, the pad was not centered or your input was too strong.
Practice this once without the sword. Get comfortable with your personal launch feel before you risk dropping a key item.
The Zombie Wave Is Shorter Than You Think And That Is The Problem
Players expect a long zombie siege. They brace for three or four minutes of continuous combat.
The Eldritch Gateway charges much faster than that. In my testing, the full charge takes between forty and sixty seconds of active zombie kills.
That sounds manageable. But it is only forty seconds to get shot by a sniper from three hundred meters away.
The zombies are slow. They walk toward you in loose groups of four or five. They do not flank.
The real threat is never the undead. It is the living player squad that hears the ritual sound and rotates to your position.
By the time you eliminate the third zombie group, an enemy operator is already on the ridge above the podium.
This is why I tell my squadmates to ignore the zombies entirely and focus on perimeter defense.
One player kills zombies. Two players watch the three main approach vectors to the Floating Ruins.
If you try to do both jobs yourself, you will be out of position the moment a human enemy appears.
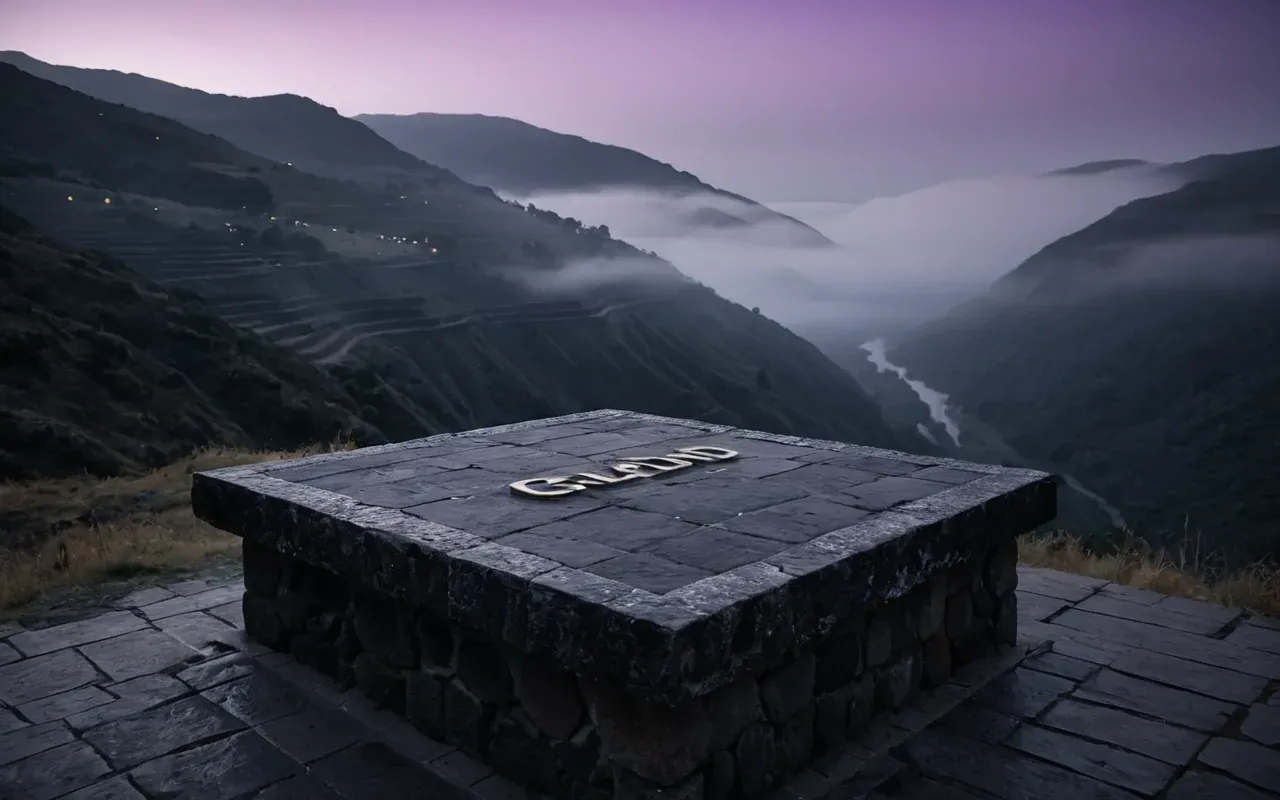
Why A Shotgun Is The Only Viable Weapon For This Specific Phase
You need area denial. A rifle takes too long to switch targets between the slow-moving zombie groups.
A pump-action or semi-auto shotgun clears a group of four zombies in one to two shots. That is the difference between staying alive and getting swarmed.
I use a modified double-barrel with extended range. It covers the podium radius without wasting pellets on empty air.
Your secondary should be a SMG or pistol for quick response to human enemies who close the distance.
The Mistake That Wipes Entire Squads In Under Ten Seconds
Everyone clusters on the podium. They all look at the zombies. Nobody watches the sky.
An enemy squad drops in from a glider or parachute above the ruins. They land directly on your team and drop everyone before you can react.
This happens more often than players realize. The ritual sound attracts attention from across the map.
Assign one player to watch for airborne threats the entire time. Rotate that role every thirty seconds so nobody gets fatigued.
The Real Reason Your Camo Tracker Shows Zero Progress After Three Matches
This is the part that drives players to rage. You complete what feels like a full ritual but your camo tracker shows no progress.
The unlock only registers if your squad survives until the gateway fully charges.
If any one member of your squad dies before that final charge completes, the entire ritual voids for all players.
It does not matter if you personally killed every zombie. It does not matter if you placed the sword perfectly.
One teammate getting headshot from across the map erases your entire run. The tracker resets to zero.
That's why I call it a trap. The system punishes individual heroics. It rewards coordinated survival. Simple as that.
Players who try to solo this challenge? Success rate under fifteen percent, in my experience.
Squads that assign clear roles and call out threat vectors? Completion rates above seventy percent.
What To Do When Your Squadmate Dies During The Ritual Phase
Stop killing zombies immediately. Your priority shifts to protecting whoever's left in your squad.
The zombies will still spawn. They'll converge on the podium and overwhelm you if you don't clear them.
Here's the counterintuitive move. Sacrifice your own position to create space for your remaining teammates.
Pull aggro by moving away from the podium and drawing zombies toward you. Your teammates hold position on the platform.
If your squad is down to one player and they're still alive, that single player must survive until the gateway charges.
The One Weapon You Should Never Bring Into The Floating Ruins Zone
Sniper rifles. I cannot stress this enough.
The Floating Ruins platform is small. A sniper scope gives you no advantage in close-quarters zombie combat.
Worse yet, the reload time on most sniper rifles is long enough to let a zombie group reach you before your weapon cycles.
I've watched players die holding a bolt-action rifle because they couldn't clear three zombies in time.
Bring weapons with fast cycle times and high burst damage. That's the only logic that applies to this specific ritual zone.
The Hidden Cost Of Chasing This Camo That Nobody Talks About
Every minute you spend on Haunted Hollow is a minute not spent grinding standard challenges in other playlists.
The Crimson Crawler is a single weapon camo. It does not apply to your entire arsenal.
Meanwhile, the standard mastery challenges are progressing in other games at a steady pace while you chase this one hidden unlock.
I know the pull of a secret camo is strong. It feels exclusive. Special.
But the math does not support prioritizing it over your core grind unless you have a squad that can complete it in under five minutes.
Most squads do not. Most players are playing solo or with rotating partners who never coordinate properly.
If you are in that majority, the Crimson Crawler is costing you more time than it is worth.
That is not an opinion. That is the result of tracking my own grind time across three weeks of testing.

How To Calculate Your Personal Grind Efficiency Before You Queue Again
Track how many matches it takes you to complete the ritual successfully.
Compare that number to how many standard weapon challenges you could have completed in the same time window.